DIY Halloween Gift Card Tags by Nicole
Happy Halloween!
Today I'm sharing a post that was originally published on the eighteen25 blog as part of their Spooktacular September. For my project I created these adorable DIY Halloween Gift Card Tags. They’re perfect for wrapping around a little pack of candy and tucking a gift card inside to your trick-or-treater’s favorite store.
Now, let me show you how I made them!
You’ll start by cutting your tag from some black cardstock. I used my Folded Gift Tag Die Set from my shop. I also cut an enforcer from white cardstock and a panel for the front from some Strathmore Smooth Bristol Cardstock. I’ll ink up the white panel with some Wilted Violet Distress Oxide ink so you’ll want to make sure to use the Bristol cardstock and it is perfect for blending.
Once I inked it, I flicked on some water droplets and dabbed them away. The water reacts with the Distress Oxide ink and creates an awesome texture. Along the bottom I used my Brushstroke Alphabet Lowercase set to spell out “boo!”. I heat-embossed it onto the panel with white embossing powder. You can mix up the sayings if you’d like or even spell out the recipient’s name. Totally customizeable.
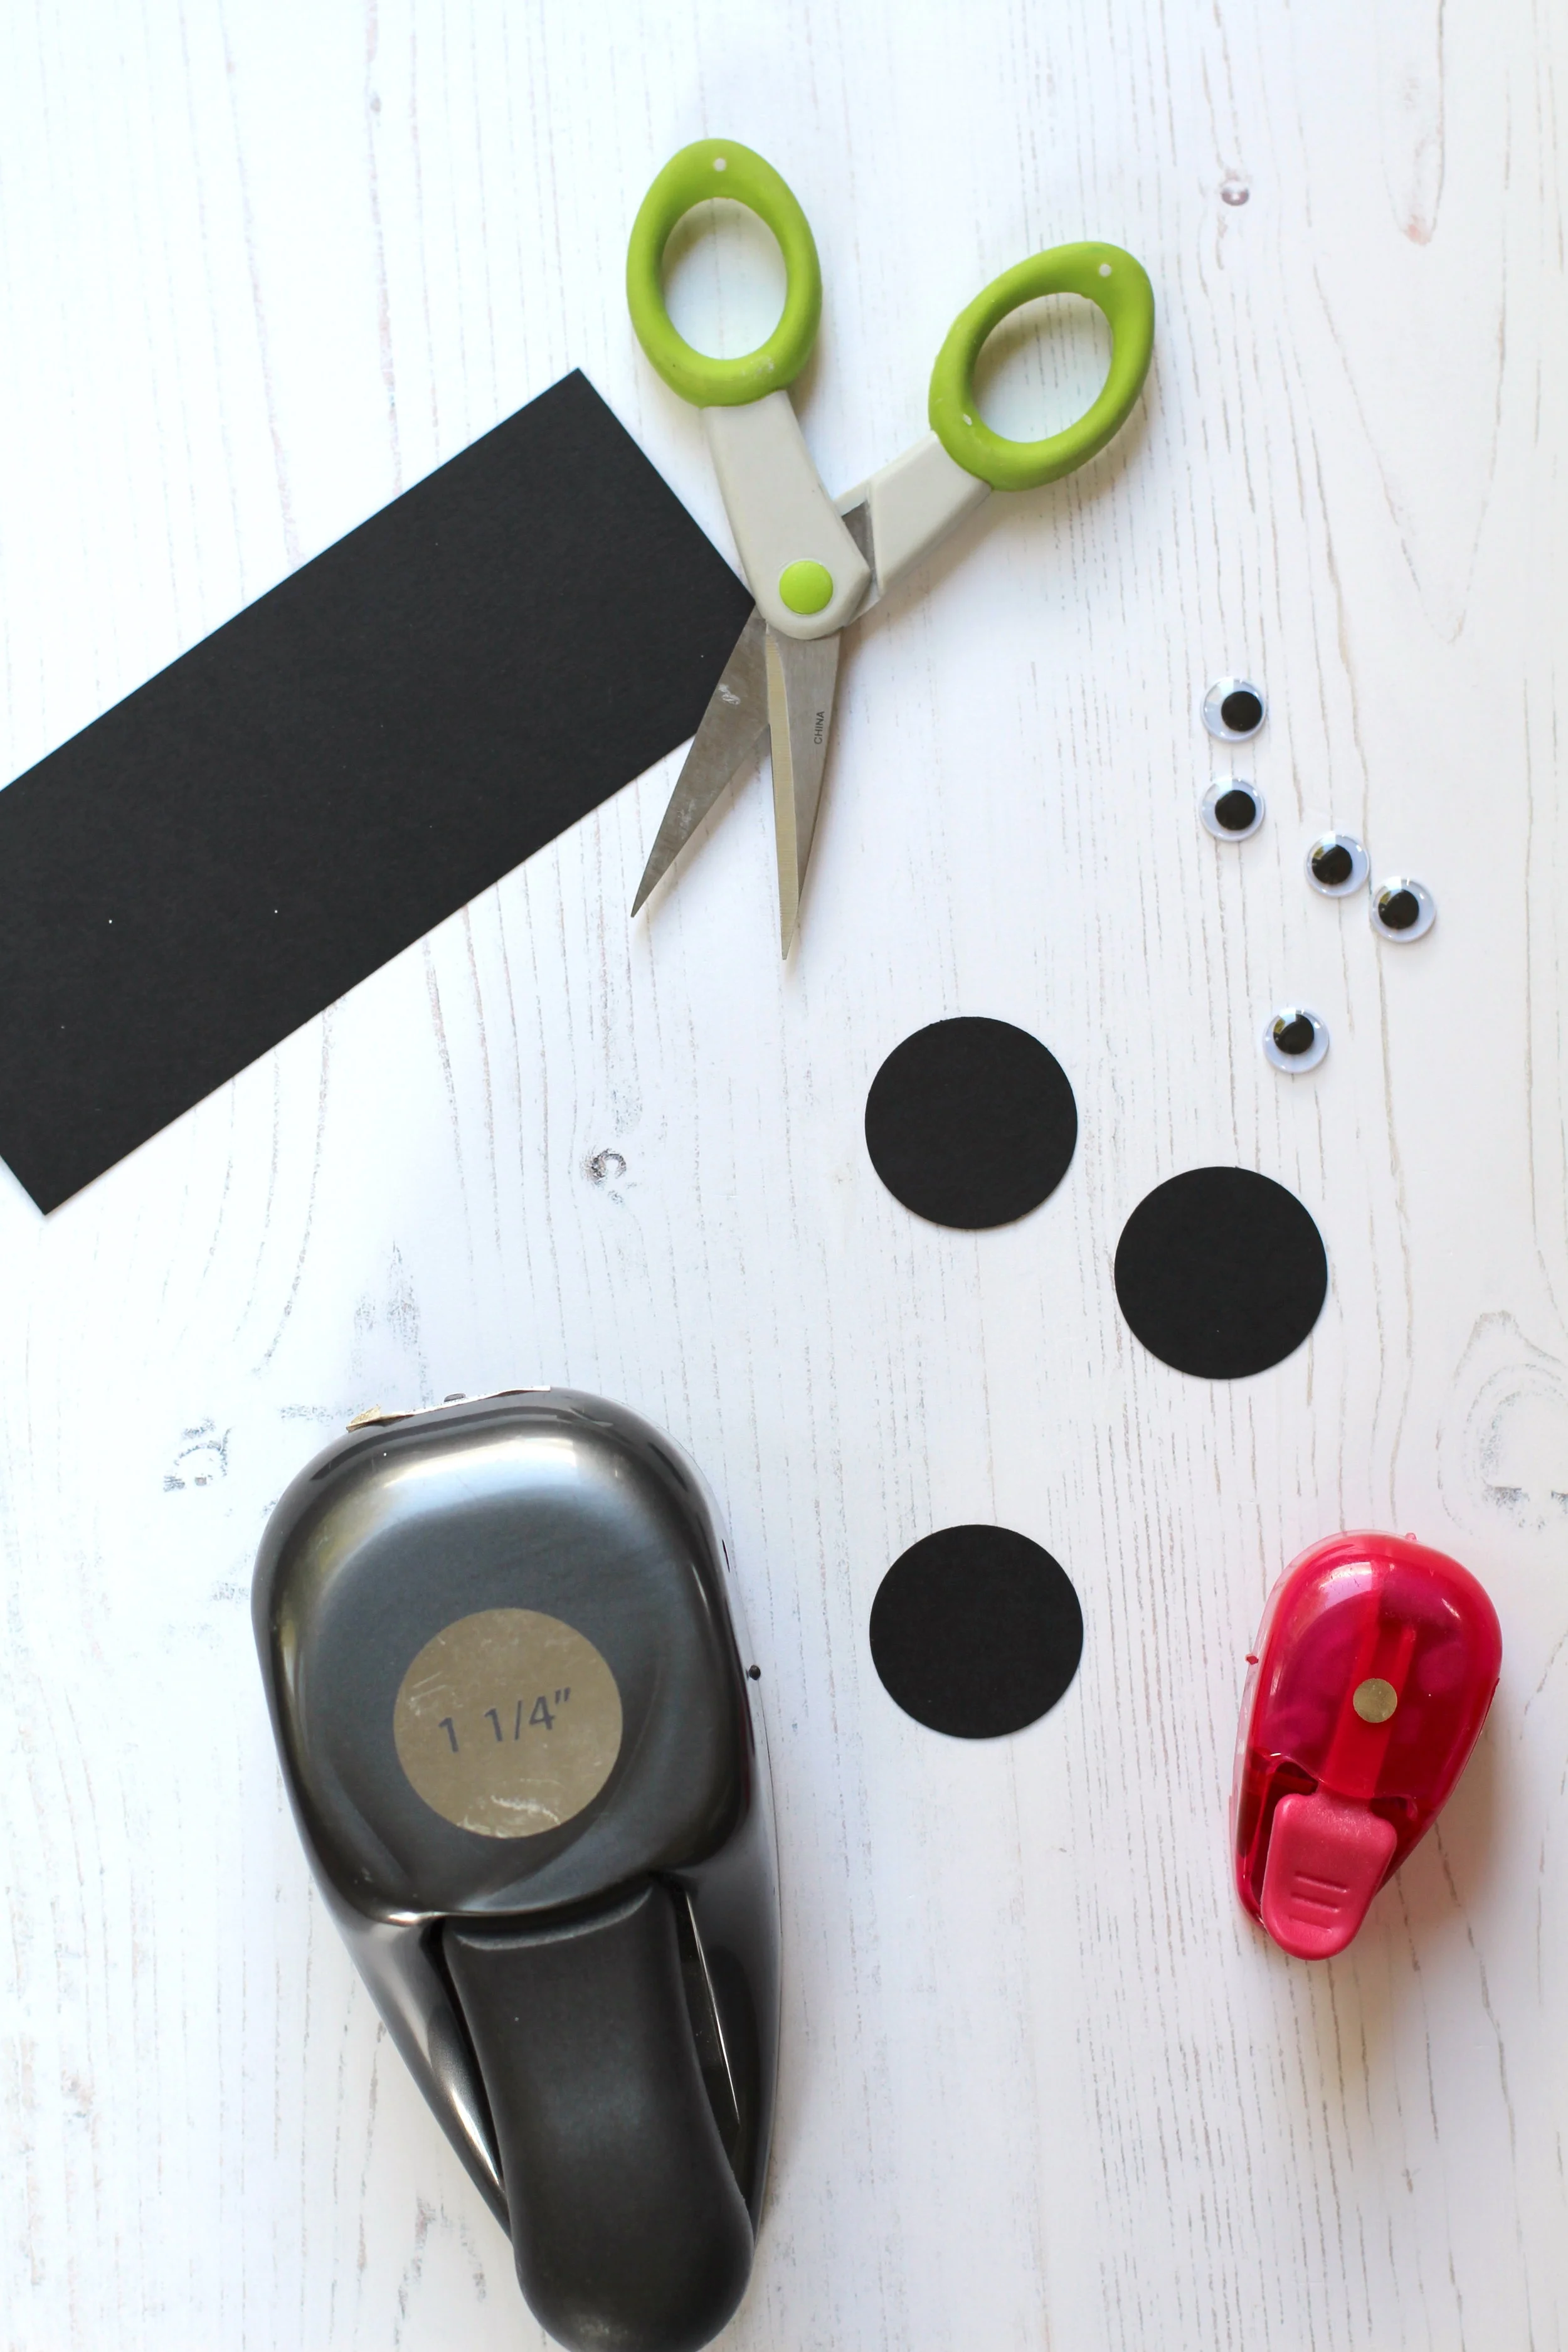
Next I moved on to creating my spider. I used a 1¼ inch punch to cut circles for my spider’s body. I used an even smaller punch to create a mouth out of white cardstock. I glued on a few googly eyes and cut some legs from black cardstock. I glued all the pieces together and my spooky spider was finished!
The last step is to glue all your finished pieces together. I used a strip of black twine to make the spider look as though he is hanging. I wrapped the tag around a package of candy and slipped a gift card inside the slot. Super cute and simple for your sweet little pumpkins!
I love the versatility of the Folded Gift Tag Die Set. With a little creativity you can use it for every occasion. Next up? Holiday gift tags! Too soon?
Have a fang-tastic night!
Nicole


