Right at Home + Concord & 9th Holiday Project Collaboration
Hey there!
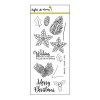
I'm super excited to be writing today's post as it features a special guest from the crafting industry: Angie from Concord & 9th! It's such an honor to be collaborating with her today. We decided to use one stamp set from my collection and one stamp set from her collection to combine together on a holiday project. I chose to feature her Sophisticated Script set and she used my Bits & Pieces: Winter set.
For my project, I created a cute Christmas Countdown Chalkboard frame. Growing up my sister and I had one that was magnetic but, over the years, we lost most of the little pieces. I think my updated version will replace it just fine.

My idea started with a 4 in x 4 in frame that I found on clearance at A.C. Moore. Whenever I see little things like that I always pick them up as I know I'll find a way to DIY them later. It was originally brown, but I decided to cover it up with black chalkboard paint. The frame didn't come with anything for the inside so I had to buy a piece of thin wood and cut it to 4 in x 4 in with a saw. (Thanks Dad!)

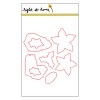
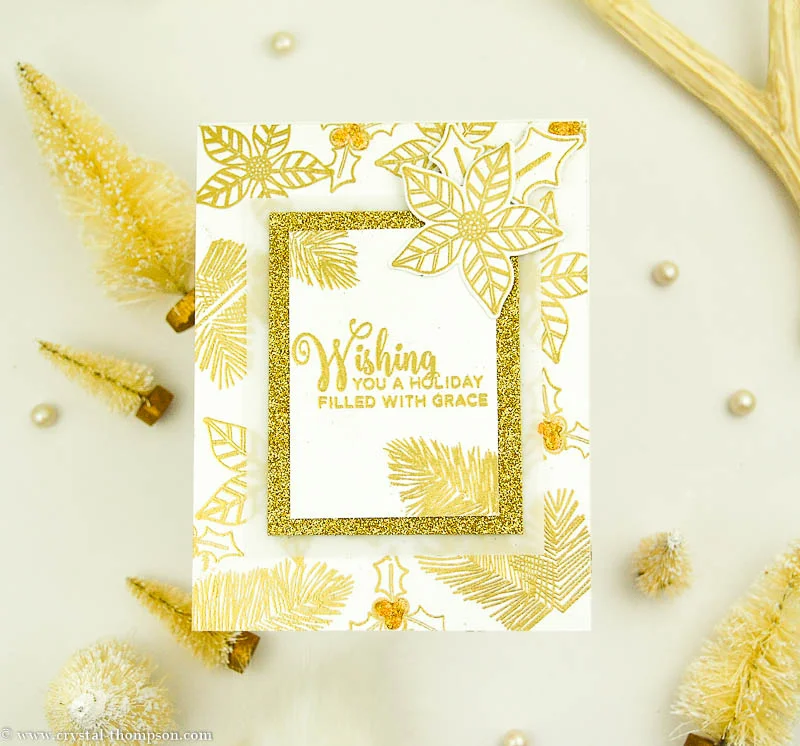
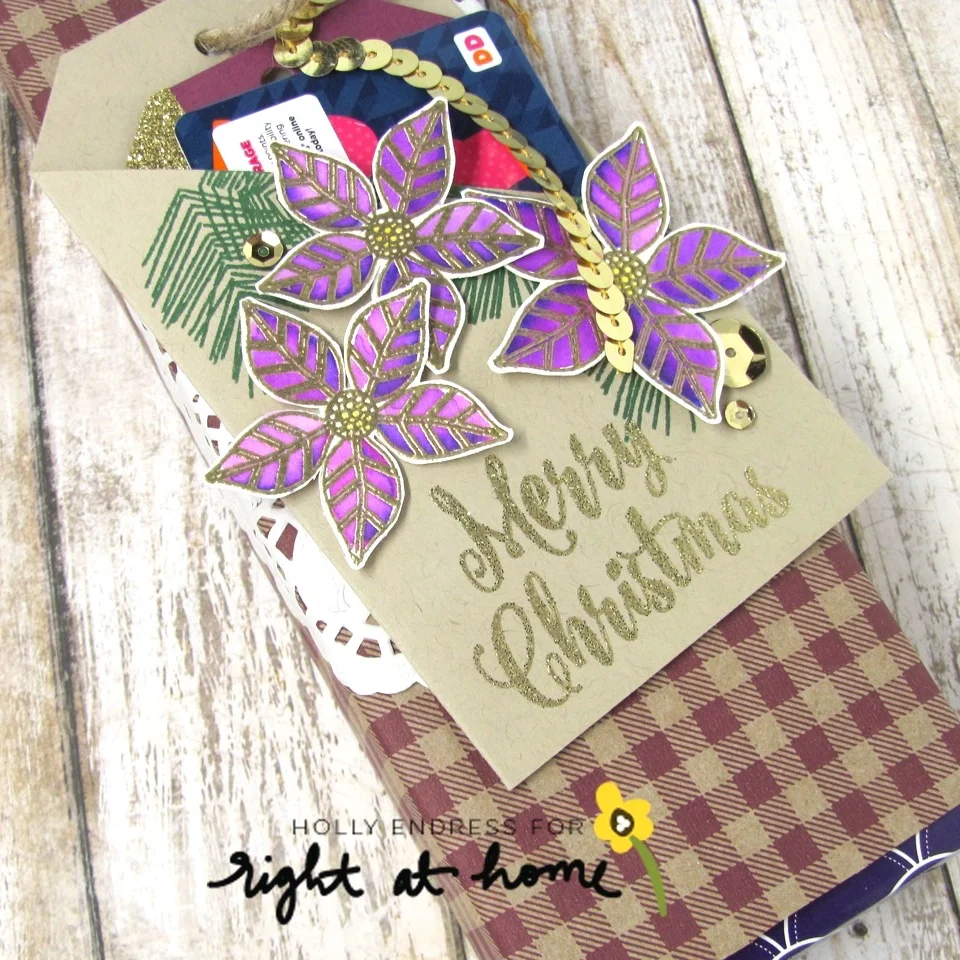
Next, I set out to do my decorations. Around the bottom of the frame I knew I wanted to have a whole cluster of poinsettias. To create them, I used the largest and smallest poinsettias and leaves from my Christmas Foliage stamp set. I stamped them onto some coordinating die-cuts in a black waterproof ink. Then, I did some simple watercoloring using Distress Inks, leaving some white spaces to make them look more modern. I arranged them along the bottom of my frame and hot glued them on, tucking the leaves behind them.
To balance out the "visual heaviness" of the poinsettias, I added a sparkly silver bow to the top. To add some interest, I hot glued a small jingle bell to the center. Now it was time to move on to the most nerve-wracking, make-it-or-break it part of the DIY...heat-embossing on wood.

I had no clue how I was going to stamp on the interior wood piece for the frame. I knew a white pigment ink wouldn't be opaque enough and would most likely smudge. My only solution was to heat-emboss with white powder, but that seemed like a super tricky task. I started by stamping my phrase, "days til Christmas", on a scratch piece of paper to get the spacing just right, then I started stamping on my wood piece. Since I was stamping on black I thought it would be best to sprinkle embossing powder on after each letter I stamped. That way I could clearly see what I was working with. Once I finished the bottom line of text, I heated the powder until it melted to make it permanent and moved on to the upper line.

A quick thing to note is to accommodate for the poinsettias at the bottom of your frame. I made sure to mark a line about 1/2 inch up from the bottom of my wood square so that when it's in the frame the words are still visible behind the flowers.
To finish it off you can prime your chalkboard square, place it in your frame, and write in the amount of days until Christmas!

Overall this DIY was pretty simple once I got the hang of the heat-embossing. I think it's so fun to mix my papercrafting supplies with other mediums to create DIY projects. It just gives me more validation for purchasing them!
Thanks so much to Angie for sending me her gorgeous script stamps...I've become absolutely addicted to them. The uses are endless.
Make sure to hop over to the Concord & 9th blog to see what Angie created using my stamps!
Hope you have a great holiday season!
Nicole