Simple One Layer Holiday Cards
Hi there.
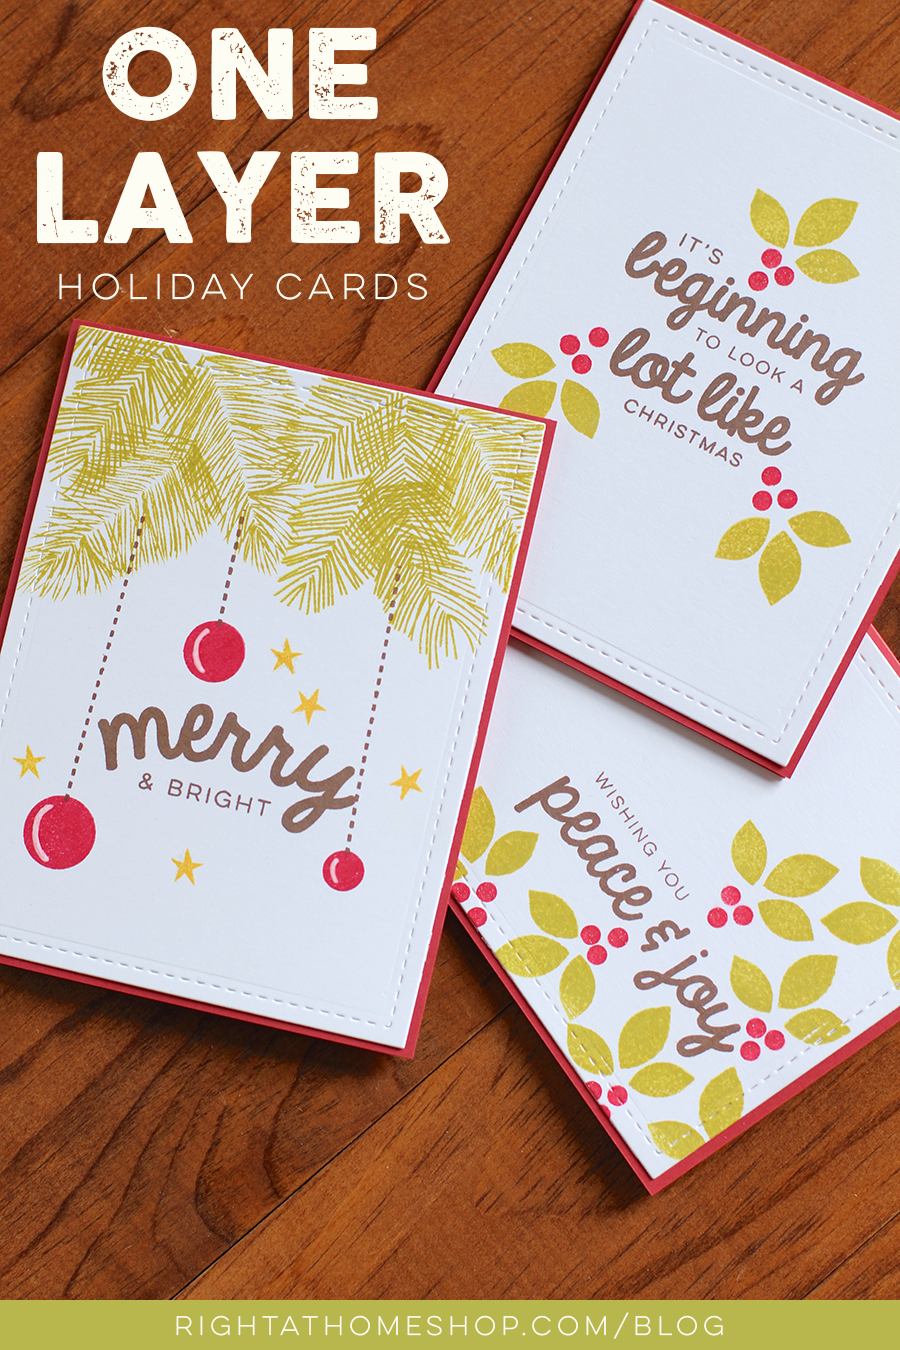
How's your holiday season been so far? I spent the day shopping around some of my favorite stores like Anthropologie, Sephora, etc. so I'm definitely in the Christmas spirit...at least in the present-buying spirit! Luckily, I was able to squeeze in some crafting time so I have three simple, one layer card designs for you today using a variety of my holiday stamps.
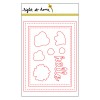
Before I explain the specific design of each card I thought I'd let you know how I constructed the card bases. Each card is made of a bright red cardstock cut to the standard A2 size. For my white panel, I used my largest stitched rectangle frame from my Find the Beauty die set. It's my favorite die for adding the finishing touch around the edges of my stamped piece.
It's Beginning to Look a lot Like Christmas
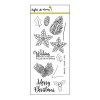
This card has the simplest design that would be perfect to mass-produce. I started by stamping the large, rectangular sentiment from my Christmas Sentiments set in the center of my panel with a dark brown ink. Then I grabbed the leaf cluster from my Poinsettia stamp set and a little dot to make some holly. I created three clusters forming a triangle to make the design more visually appealing.
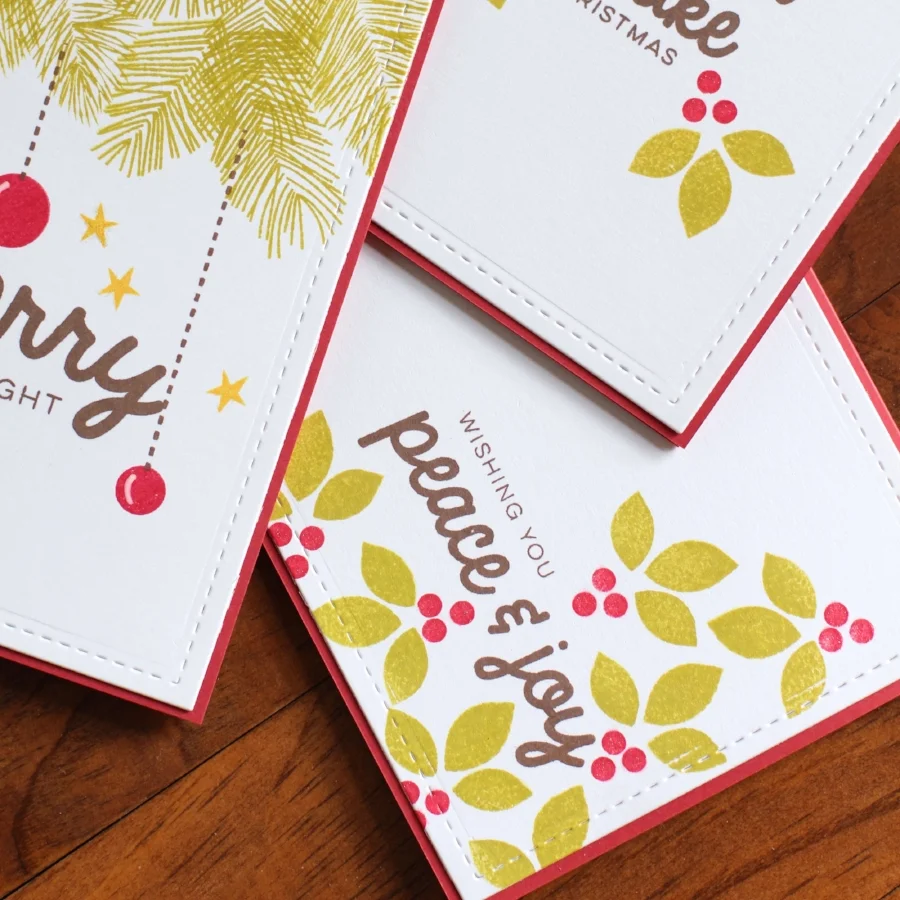
Wishing You Peace & Joy
This next card is kind of like the step up from the first. I decided to rotate my panel and fit my smaller sentiment in the bottom, right-hand corner. Then I used the same leaf cluster and dot stamp to create multiple holly clusters around the greeting. I turned the leaves in different directions to better fill the space and made sure to keep my cluster count to an odd number (I have seven holly clusters in total).

Merry & Bright
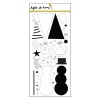
The last card is the most complex and uses a ton of different sets from my line. I started by using the pine leaves from my Christmas Foliage set to create the look of a branch at the top of my panel. Then I stamped my sentiment below it in the same brown ink. Next I chose three different sized dots from my Christmas Critters set to act as ornaments, and stamped them in a bright red ink. To make the look of strings, I grabbed the dashed line border from my Banner Alphabet Add-On set and stamped it from the top of the ornament. To add even more color, I grabbed a little star stamp and scattered them around the ornaments. A white gel pen helped me add accents to the ornament to make them look more dimensional.

On all three cards I added some glitter with my Wink of Stella brush pen. I added it to the berries on the first two cards and the stars on the last. It helped finish them off nicely!
I came up with these designs early one morning as I wanted to make sure I contributed some cards to the Caring Hearts Drive. I'm so glad I did! It's such a great cause.
Hope you have a great day!
Nicole